Your Projects |
|

^Option is not available in Core version.
A project is a definite task list or related actions that are grouped together for resource and cost tracking purposes. From the Projects sub tab, you will see, by default, a listing of your current, open projects. To see projects which are closed or on hold, check the appropriate box in the upper right of the project listing.

You can add new projects by clicking on the New button just under the tabs or the Add Project button from the Quick Tools at the top right of the screen.
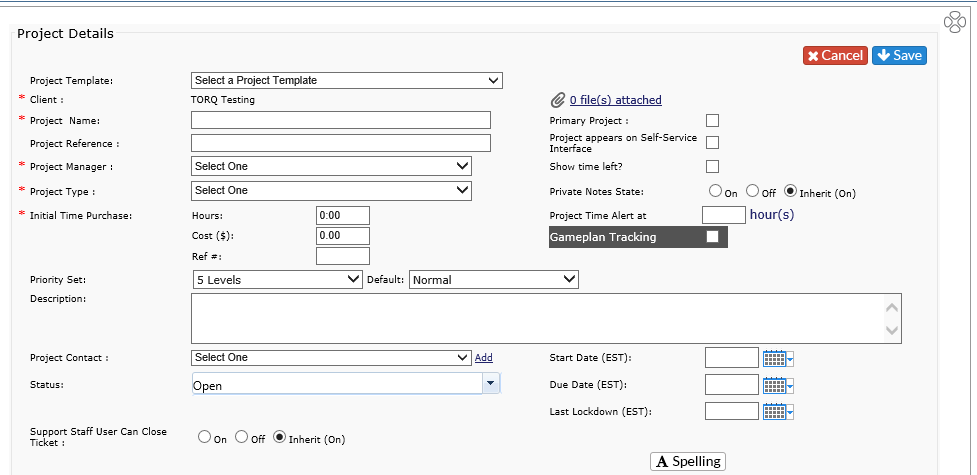
Add Project
Project Template: If templates are turned on, you may select a predetermined template.
*Client: Defaults to your company name; there is no option to change the Client.
*Project Name: Type in the Project Name
Project Reference: A Task Order number, Contract number or other internal reference number used by your company, if required.
Project Contact: Select a client contact from the pull down list as the primary contact for this particular project. Only Client Admins can be designated as the primary contact for a project.
*Project Type: Select the appropriate one from the pull down menu.
*Project Manager: Select the appropriate PM from the pull down list
*Initial Time Purchase: Put in the Hours, Cost and Reference number for the project. The reference number can be a quote or contract number.
Priority Set: Select the Priority Set for the project from the drop down and then select the default level.
Attach File: If the File Upload module is active via licensing, and the options allow, files can be attached against the project information. This could be a copy of the contract, or other specific project information.
Primary Project: If this option is checked, this project will appear as the default for all users when logging a ticket.
NOTE:To change the Primary Project, uncheck the box in the current Primary Project, and check it off in the project you wish to make the Primary Project.
Project appears on End User Interface? If this option is checked, the client can see their open tickets, receive email notifications and see reports on the project based on their Access Level. If it is not checked, the option to publish a report is not available through Time Reconciliation reports.
Auto Parse Email Project: Select one project for the client as the default for email parsing. This option will only appear if the Email Parser module is activated with your Revelation license.
Show Time Left: If this box is unchecked, the remaining time on the project will not show within a ticket internally or the External Client reports.
Status: Open (default), Closed or On Hold
Start Date: The date the project is scheduled to begin.
Due Date: Project completion date, if known. This can be an estimate.
Last Lockdown: Date shown is when the last report was published for the project. If you publish a monthly report for clients through the Time Reconciliation report, this date will reflect the last day of the month published.
Description: Enter a brief description of the project (Internal support, WAN installation, Web development, etc.).
-
NOTE: Once project is created, there will be a Project ID number visible.
You will now click on each tab to set the following items:

Alert Notifications
Takes the information from the Email Notifications set under the Helpdesk Setup - Email - Default Alerts tab. However, notifications can be altered by project.
An additional column is included called Static List. Notifications will be sent to the selected Internal User(s) even if they are not part of the project. Multiple users can be selected by clicking on the arrow and holding the Ctrl key while choosing staff.
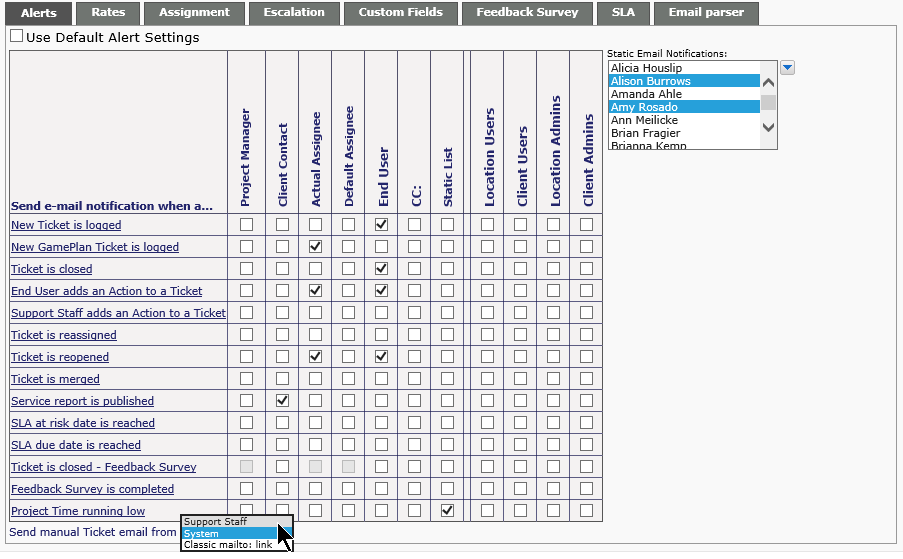
The area at the bottom of the section has a drop down. This allows you to set how emails sent from within a ticket. When Support Staff is selected, the emails sent from within the ticket will be from the Staff member's email address. If System is chosen, the email will come from the system email address as defined in Helpdesk Setup - Email Settings - Email Configuration.
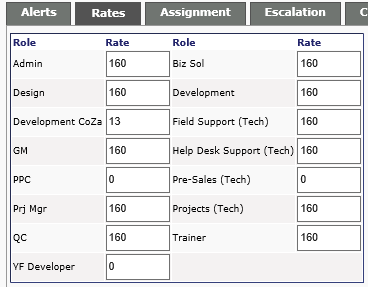
Rates
Different Project roles may have different rates associated with them. The rates shown are the default set in the system in Roles. The internal project rates may be different and can be edited here.
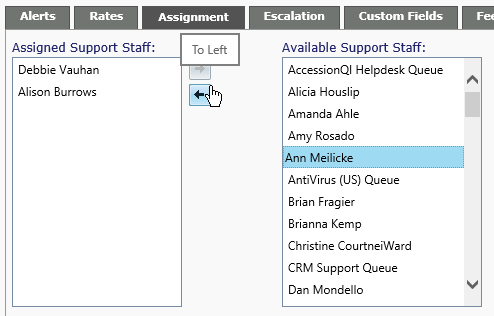
Ticket Assignment
When a client logs a ticket in Revelation, the ticket automatically shows up on the ”Assigned User” home page. If the default person is incorrect, or there should be additional personnel assigned for this project, select them from the right side (Unassigned Users) and move to the left side (Assigned Users), or vice versa, using the arrows or by dragging from one side to the other.
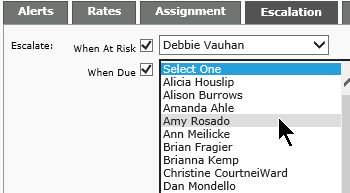
Escalation
Projects have an option to set any number of escalation targets, either Users or Queues, when an SLA is either at risk or is due. Upon reaching the date, based on the SLA for the project, the system will automatically assign the Ticket to the Users or Queues designated in the Project.
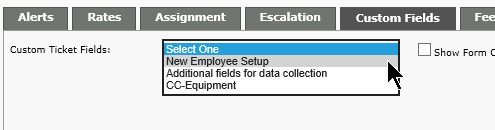
Custom Fields
If a Custom Fields is to be used for any tickets logged against the project, it can be selected here. This will include the form when any ticket is logged against the project. It also gives the option to show the form on the Self-Service Interface, if it is active.
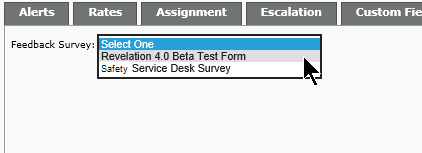
Feedback Survey
If used, select the appropriate Feedback Survey from the drop down.
Service Level Details
The Priority Response and Resolved times are set by the SLA. You can select multiple SLAs for a project, but one must be checked to be the default.

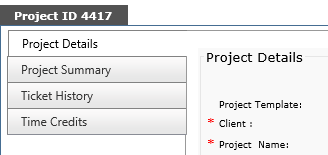
Project ID
Once project is created, there will be a Project ID visible on the tab for the Details, Summary, History and Credits.
Project Summary
Once the project is created, you will see additional tabs, including Project Summary. This tab gives a quick overview of the Project Details including the Client name, Project Manager, Contact, Time left, Status, Start/Due/End dates and the Project Description.

Ticket History
This tab shows all open tickets against the project. If you click on the ticket, you will be taken to the action notes. To see closed tickets for the project, check the Include Closed Tickets box at the top of the screen. The screen will automatically refresh with any additional tickets. The status will show which are open or closed.

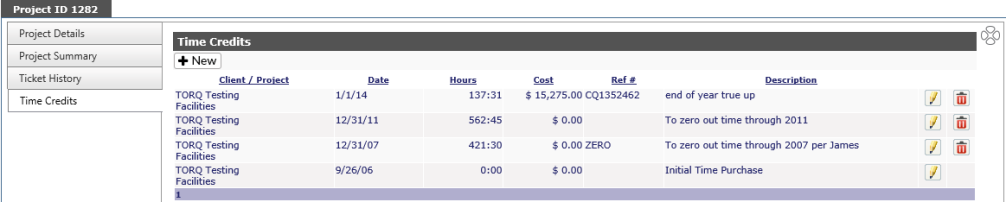
Time Credits
This tab shows all time credits against he project and allows you to put in additional credits by clicking on the New button at the top of the screen. To edit a time credit, click on the pencil icon to the right of the credit. If a credit can be deleted, there will be a red X next to the pencil.