Manage SLAs |
|

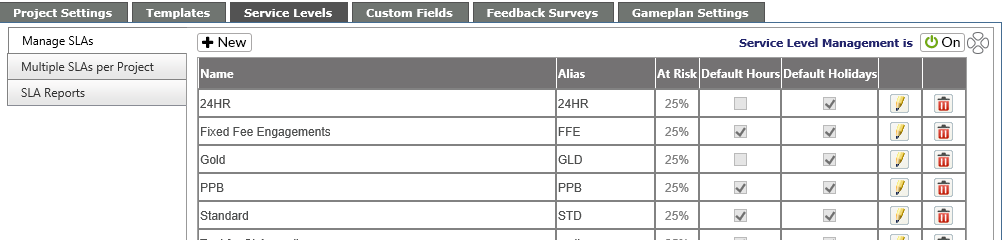
From the main screen on this tab, Super Admins will be able to see all the existing SLA names, their Alias and if they use Default working hours and/or Default Holidays.
Add new SLA
By clicking on the New button at the top of the screen, you can add an SLA.
-
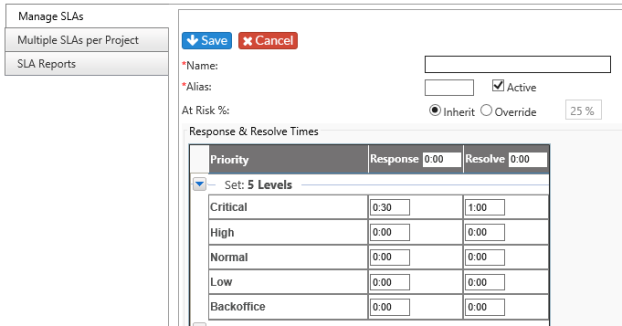
Fill in the SLA name and alias.
-
Set the response and resolve times
-
-
If you set at the top of the screen, the Response and Resolve times will be the same for every Priority. You can also set them individually by clicking in each priority in each set.
-
There are two items which must be set for the SLAs:
|
Response Time |
Amount of time in which a technician must respond (email/phone) to the client regarding the logged ticket |
|
Resolve Time |
Amount of time by which issues is resolved and closed |
Both sets of time are in hours, so a two-day response time would be 48 hours.
NOTE: The maximum SLA time allowed by the system is 720 hours, or 90 days.
Once you hit Save, you will see the edit screen where you can change the Default Working Hours or the Default Holidays:
-
If you wish to use a different set of working hours and/or holidays, uncheck the Use default hours (or holidays) box
-
-
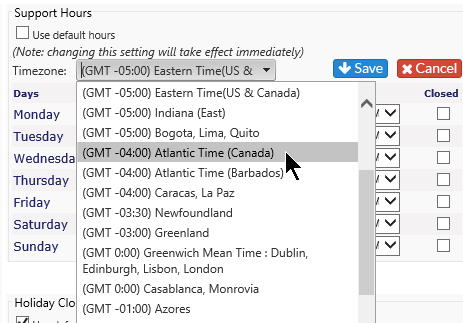
For Support Hours
-
-
Click on the pencil at the top of the area
-
Select the appropriate time zone
- Adjust the hours as needed
-
Click on the Save icon to keep changes, or the Cancel icon to revert back to the original information
-
-
For Holiday Closings
-
-
Click on the New button to add a new holiday for this SLA or do nothing to have no holidays for the SLA
-
-
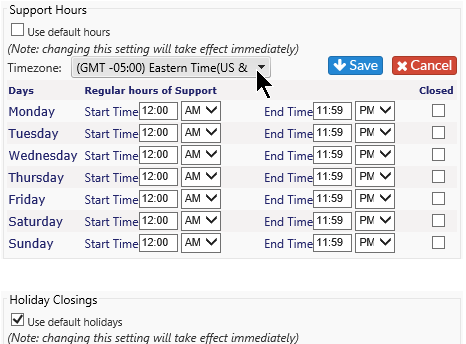
NOTE: If you have SLA's specifically set for offices in a different time zone, select the proper time zone from the drop down.
Due Dates, which also show on the ticket, are for the next milestone which must be reached and are based on the times put in here. This is dynamic and is updated as you work on a ticket.
A ticket status can be designated as "On Hold" which will stop the clock on a ticket for any SLA applied. This is set in the Ticket Settings area under Ticket Status.
Edit an SLA
Click on the pencil icon to the right of the SLA. You will get a screen similar to the Add SLA where you can edit the SLA name, Response and Resolve times as well as Support Hours and Holiday Closings.
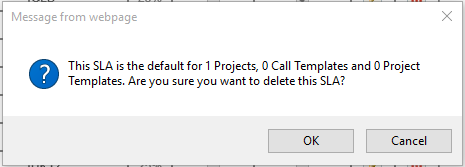
Delete an SLA
To Delete an SLA, click on red garbage can icon to the right of the SLA. Again, when deleting an SLA a warning message will appear. If no tickets are associated with the SLA, you'll be given the option to delete or not. If the SLA is in use and there are tickets assigned, you will be given the option to turn the SLA inactive instead.