Add Non-Recurring Template |
|
Add New Non-Recurring Template
Click on the New button under Templates on the page.
Add New Non-Recurring Template

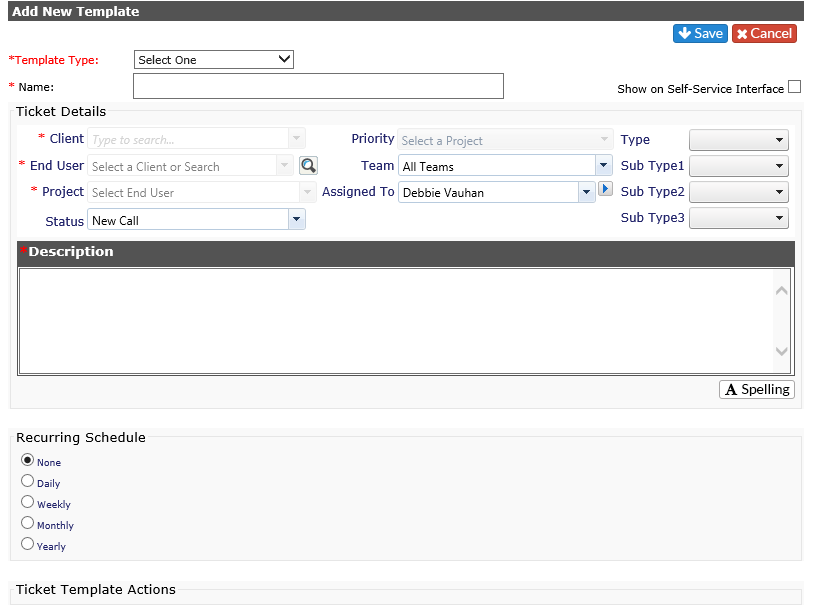
The form for a new template appears. A red asterisk (*) denotes a required field.
-
*Select the Template Type from the drop down.
-
*Fill in the Template Name
-
A check in "Show on End User Interface" will allow your end users access to use this template to log tickets. Leave blank if you don't want it visible to them.
-
*Select Status, Priority, Type, Subtype from the drop downs
-
-
NOTE: You will not be able to select Client, End User or Project unless the template follows a Recurring Schedule. For these items, see Add Recurring Template.
-
-
Select the Team responsible for the ticket.
-
Select the Assigned To. The default assigns the template to the creator.
-
-
If more than one person, click on the arrow and use the Ctrl key to select multiple people from the same team. If you require people from multiple teams, put the Team drop down to the Select a Team option to see all staff and queues.
-
-
Put in a ticket description
-
Leave the selection under Recurring schedule at None

Hit Save - Ticket Template Actions will be available to add.
Add Ticket Template Actions
Individual action notes, with the appropriate billable time can now be added, files attached if needed. If a ticket requires more than one action, continue to click on the New button until all actions, and time have been added

Edit Ticket Template Actions
Click on the pencil icon next to the action note. You will be able to edit the action note itself, the Billable or Non-Billable time and any attachments. Remember to click the Save icon when you finish your edits, or click the Cancel icon to retain the original information.
Delete Ticket Template Action
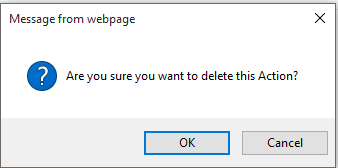
Click on the delete icon in line with the action note. You will see a warning box. Click OK to delete the action note or Cancel to retain the action note.


