Manage Priorities |
|

Edit or Rename an Existing Priority
Turn an Existing Priority Inactive
The system supports a minimum of three (3) and up to a maximum of nine (9) System Priorities per Priority Set; with the sets assigned on a per project basis.
Add Priorities
New Priorities can be added one of two ways:
-
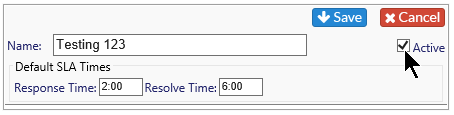
Click on New at the top of the page. Add the name and default SLA Response and Resolve Times and click Save.

-
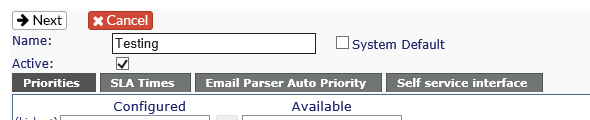
From the Priority Sets tab - select New. From the edit screen, select Add New from the top of the Available Column and you will be taken to the above dialogue box.
Edit or Rename an Existing Priority:
Click on the pencil icon of the Priority you wish to edit. Make the changes as needed and click Save.
Turn an Existing Priority Inactive:
Click on the pencil icon of the Priority you wish to turn inactive and uncheck the Active box in the upper right area. Once it has been turned inactive, it will appear at the bottom of the Priority list in italics and grayed out.