Create Custom Grid View
|

|
To Create View
To Group Items
To Move Columns
To Remove a Column
To Add a Column
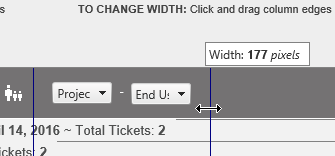
Adjust Column Size
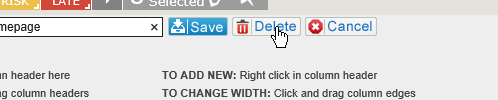
Delete a View
If enabled by the Administrator, the pencil icon will appear at the top left area of the home page allowing staff to make own views.
To Create view
|
|
|
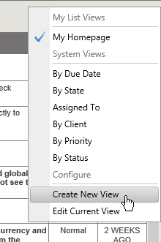
Right click on the Grid view button on the home page
|

|
| Select Create New View |
|
|
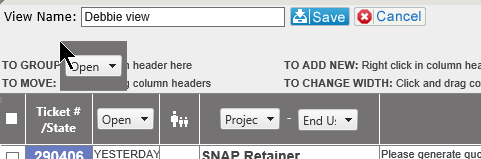
Create a new view name.
|

|
To Group items
|
|
|
Select the Column to group by
|
|
|
Drag column header to Dialogue box at top of grid
|
|
|
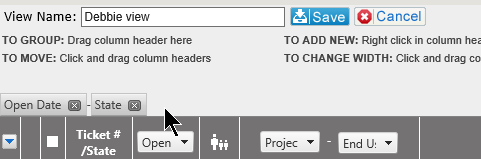
You will then see a Grouped By header and, if multiple columns have been added, it will be a string showing the order for the grouping.
|
|
|
|
|
|
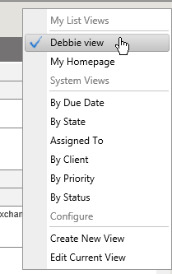
Click on Save to add the custom view to your list. It will now be on the drop down list
|
|
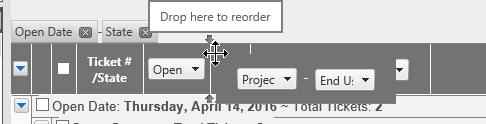
To Move Columns
|
|
|
Hover over the column to be moved until you see the double arrow. Slide along the columns to the point you want the column. You will see the double arrows showing where the new location will be. When you see the "Drop here to reorder" message, let go of your mouse.
|
|
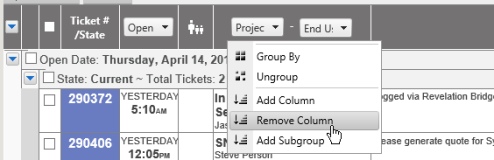
To Remove a Column
|
|
|
Hover over the column to be removed and right click your mouse. Select Remove Column from options.
|
|
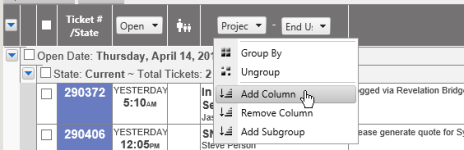
To Add a Column
|
|
|
Right click in any of the column headers and select Add Column
|
|
|
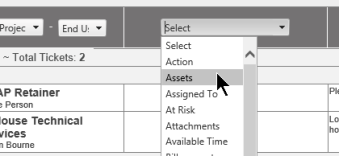
A Column with Select will appear - choose the header from the drop down.
|
|
Adjust Column Size
|
|
|
|
|
Delete a View
|
|
|
Right click on the Grid view button, select the view and click edit.
Select Delete from the dialogue box.
|
|


